Direct Engineering Answer:
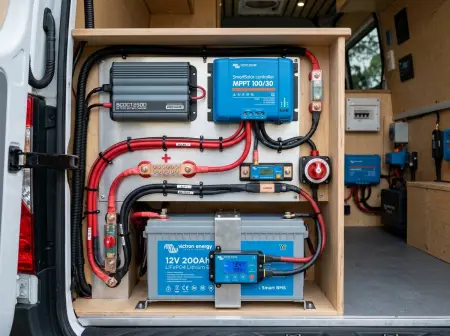
To power an off-grid RV or campervan, a typical system requires 400W to 800W of rooftop solar panels paired with a 200Ah to 400Ah 12V LiFePO4 battery bank (2.56 to 5.12 kWh) and a 2,000W pure sine wave inverter. Installing a 30A to 50A DC-to-DC alternator charger provides essential supplemental charging while driving, generating 400W to 700W continuously regardless of weather or cloud cover.
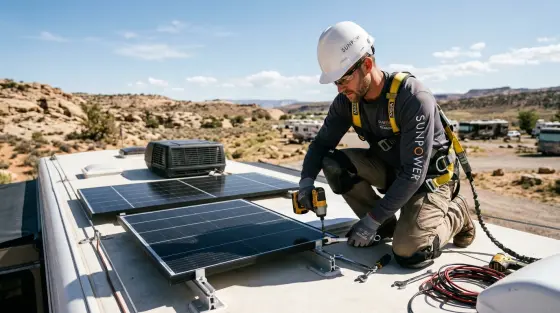
Engineering an off-grid solar system for mobile vehicles involves design constraints radically different from stationary homes. On an RV, campervan, or travel trailer, roof space is tightly constrained by air conditioners, skylights, and vent fans. Furthermore, mobile systems face high-speed aerodynamic wind buffeting, constant road vibration, partial tree shading in campsites, and extreme temperature fluctuations. You can model your vehicle’s exact daily load profile and panel dimensions using our free off-grid solar calculator.
Actionable Engineering Thesis: Achieving true mobile energy independence requires deploying a dual-charging topology that pairs rigid rooftop MPPT solar generation with a smart DC-to-DC alternator charger, sizing LiFePO4 house storage with internal heating pads for sub-freezing operation (calculate battery amp-hours and cold-weather reserve margins in our solar battery calculator), and enforcing low-voltage DC wiring safety per RVIA and ABYC standards.
“Just tape 800 watts of flexible solar panels flat to your camper roof with double-sided tape and you can run your RV rooftop air conditioner all day off-grid.”
A standard 13,500 BTU RV air conditioner consumes 1,400W to 1,600W continuously and pulls a 4,500W locked-rotor startup surge. Generating 1,500W continuously requires more roof area than exists on any Class B or C vehicle (see our detailed layout walkthrough in Class B van solar installation). Running mobile A/C requires a soft-starter, an inverter sized for high inductive starting surges as explained in our guide to sizing a solar inverter, and a massive 600Ah+ 12V LiFePO4 bank.
1. The Four Distinct Mobile and Remote Electrical Environments
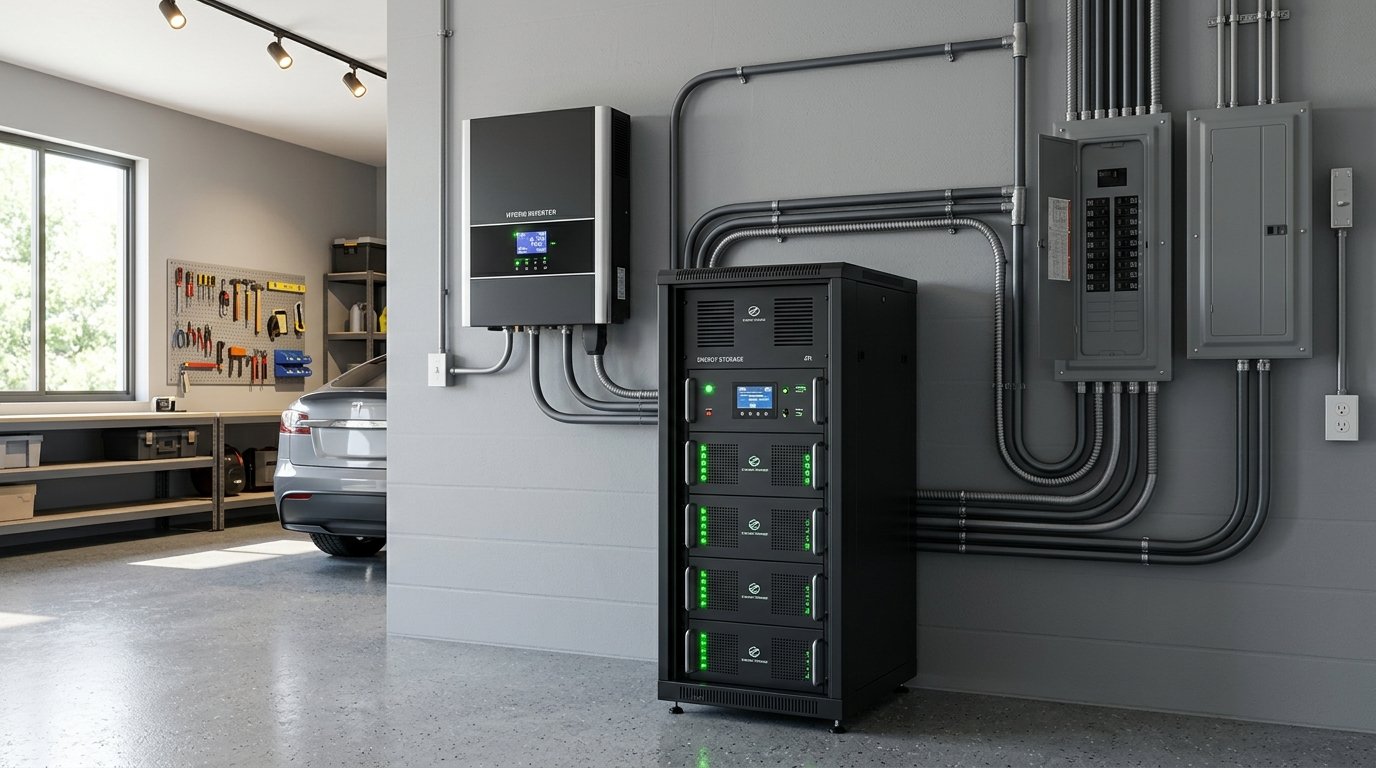
Off-grid mobile setups span four distinct operational environments, each demanding specific voltage, mounting, and storage architectures. Per National Electrical Code standards (NEC Article 551 for Recreational Vehicles and RV Parks) and NFPA 1192 regulations, mobile DC circuits must enforce isolated positive chassis returns, catastrophic overcurrent protection (Class-T or MRBF fusing) located within 7 inches of battery posts, and vibration-resistant conductor routing:
| Vehicle / Structure Type | Typical Roof Solar Limit | Recommended Battery Bank | Primary Auxiliary Charging | Target Continuous Loads |
|---|---|---|---|---|
| Campervan (Class B / Sprinter) (see our complete van life solar system setup guide) | 300W – 600W (Confined roof) | 200Ah – 300Ah @ 12V LiFePO4 | 30A – 60A DC-DC Charger | 12V fridge, Starlink, laptop, induction cooktop |
| Travel Trailer / Fifth Wheel | 600W – 1,400W (Open flat roof) | 400Ah – 800Ah @ 12V (or 24V) | Tow vehicle DC-DC or portable gen | Residential fridge, microwave, intermittent A/C |
| Motorhome (Class A / Super C) | 1,200W – 2,400W (Expansive roof) | 600Ah – 1,200Ah @ 12V or 24V | High-output chassis alternator | Multiple A/C units, washer/dryer, entertainment |
| Remote Off-Grid Cabin | 2,000W – 8,000W+ (Ground mount) | 15 kWh – 40 kWh @ 48V DC | Auto-start standby generator | Well pump, full kitchen, HVAC heat pump |

2. The Dual-Charging Imperative: Combining Solar with Alternator DC-DC Charging
Relying exclusively on solar panels on an RV or campervan is a high-risk strategy. If you camp in dense forest canopy or encounter consecutive days of heavy rain, flat-mounted rooftop panels produce as little as 10% of their rated capacity.
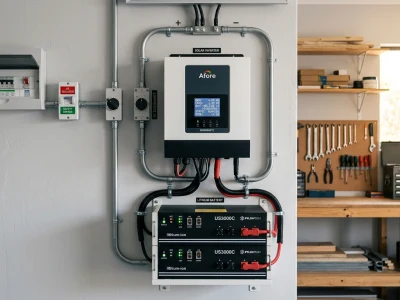
The solution is a DC-to-DC Battery Charger (such as the Victron Orion-Tr Smart). Modern vehicle alternators produce 150A to 250A of current while the engine runs. A dedicated DC-DC charger serves three critical electrical functions:
- Protects the Vehicle Alternator: LiFePO4 batteries have near-zero internal resistance and will greedily pull excessive amperage from a starter alternator at low engine RPM, overheating and burning out the alternator stator windings. A DC-DC charger limits current to a safe, constant setpoint (e.g., 30A or 50A).
- Delivers True Multi-Stage Charging: Lead-acid vehicle starter systems float at 13.6V–13.8V, which cannot fully charge a LiFePO4 house battery. The DC-DC charger boosts and regulates voltage to the precise 14.4V–14.6V absorption profile lithium cells demand.
- Prevents Starter Battery Drainage: Built-in voltage sensing and ignition triggers automatically isolate the house battery from the starter battery when the engine shuts down, preventing starting battery drain.
A 50-amp DC-to-DC charger pushes roughly 650 watts of continuous charging power into your house battery while driving. Just two hours of highway driving injects 1,300 watt-hours (over 100 Ah at 12V) into your storage bank—equivalent to an entire afternoon of clear midday solar harvesting on a 400W rooftop array.
3. Managing Solar Panel Shading on Vehicle Roofs
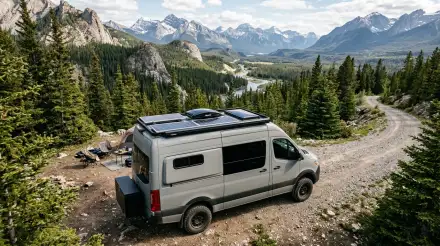
Partial shading is the single greatest enemy of vehicle rooftop solar performance. Rooftop air conditioning shrouds, MaxxFan covers, luggage boxes, and roof racks cast hard shadows across panels as the sun angle changes throughout the day.
When solar cells are wired in a single series string, shading even 5% of one panel drops the current across the entire string because current is constrained by the weakest cell. For RV and campervan installations subject to frequent partial roof obstructions, engineers recommend:
- Parallel or Multi-String Topology: Wiring panels in parallel (or series-parallel strings) ensures that a shaded module does not choke unshaded panels from delivering full current.
- Independent Dual MPPT Controllers: Splitting panels across two smaller MPPT controllers (e.g., driver-side string and passenger-side string) allows each side of the vehicle roof to operate at its independent Maximum Power Point.
- Portable Solar Suitcase Port: Installing an external Anderson Powerpole or SAE port allows deploying a 100W–200W portable folding panel in direct sunlight while the RV remains parked in shade.

4. Lithium Low-Temperature Protection & Mobile Battery Sizing
While Lithium Iron Phosphate (LiFePO4) chemistry has made lead-acid batteries obsolete for mobile applications due to its 70% weight reduction and 5× cycle life, lithium cells have one non-negotiable chemical vulnerability: they cannot be charged below 0°C (32°F).
Attempting to force charge current into a sub-freezing lithium cell causes permanent metallic lithium plating on the graphite anode, permanently ruining cell capacity and creating catastrophic short-circuit hazards. To ensure winter boondocking safety:
- Internal Heated Batteries: Select LiFePO4 batteries with integrated internal heating pads that divert incoming charge current to warm the cell pack above 5°C before allowing charge acceptance.
- Interior Enclosure Placement: Never mount lithium house batteries on exterior tongue boxes or under-chassis unconditioned compartments. House batteries belong inside the heated living envelope of the campervan or RV.
- Smart BMS Low-Temp Cutoff: Verify that the Battery Management System (BMS) and MPPT charge controller feature calibrated external temperature probes to disable charging automatically when temperatures drop below freezing.


Calculate Your RV & Campervan Solar Requirements
Model your daily boondocking amp-hours, roof panel limits, alternator DC-DC charging output, and lithium battery capacity with our specialized calculators.
Interactive RV, Campervan & Cabin Solar Sizing Calculator
Mobile & Off-Grid Solar Sizing Simulator
Calculate required solar wattage, DC-DC alternator charging, and LiFePO4 battery storage for your campervan, travel trailer, or cabin.
Sizing Recommendations & Equipment Breakdown
500 W
2 × 200W + 1 × 100W
216 Ah
2.6 kWh @ 12V DC
30 A
Inverter: 2,000W Pure Sine