Introduction
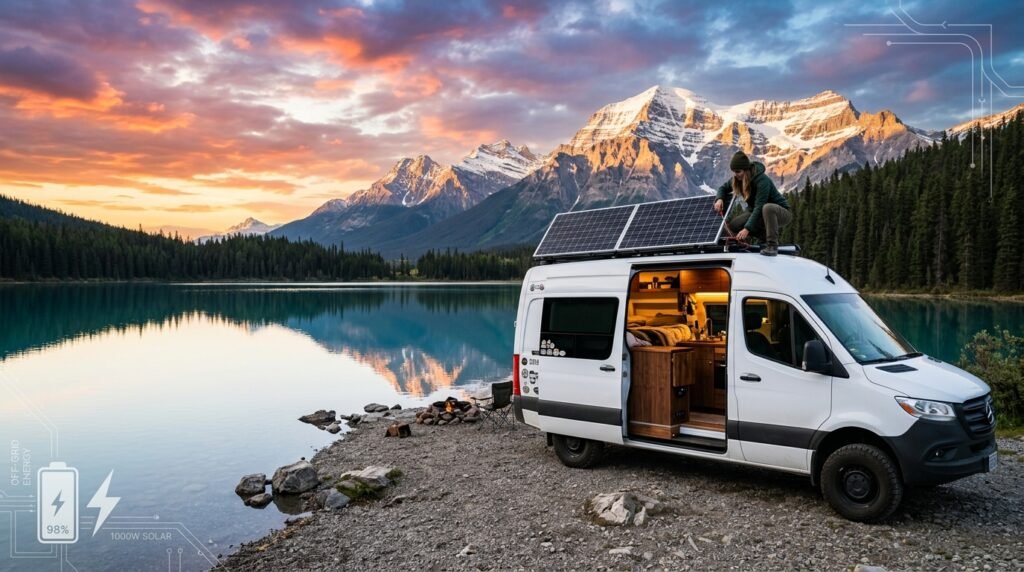
A van life solar system setup transforms your mobile home into an energy-independent living space. Whether you’re embarking on a cross-country journey or establishing a seasonal basecamp, a properly installed solar system provides reliable power for essentials like refrigeration, lighting, charging devices, and comfort appliances. This guide walks through the complete setup process, from planning to final commissioning.
Step 1: Calculate Your Daily Power Needs
Before purchasing a single component, determine your actual power consumption. List all appliances you’ll use daily:
- Refrigerator (12-24 hours): 200W consuming 2.4-4.8 kWh
- LED lights (6 hours): 50W consuming 0.3 kWh
- Laptop/devices (4 hours): 100W consuming 0.4 kWh
- Water pump (2 hours): 500W consuming 1 kWh
- Ventilation fans (8 hours): 75W consuming 0.6 kWh
- Miscellaneous outlets: ~1 kWh
Total estimated daily consumption: 6-8 kWh
Add a 20{176fcca6730a93a81d392d3d2de5285aaf114f6257de59f55b47dc4f356ad4a2} safety buffer for appliances you’ll forget and future additions. Your realistic daily need becomes 7-9 kWh, which drives every downstream decision.
Step 2: Choose Your System Size
With daily consumption calculated, determine panel and battery capacity using this formula:
Panel Size (kW) = Daily Energy ÷ (Peak Sun Hours × Efficiency)
For a van in moderate climate (4 peak sun hours) with 8 kWh daily need:
8 kWh ÷ (4 × 0.75 efficiency) = 2.67 kW system
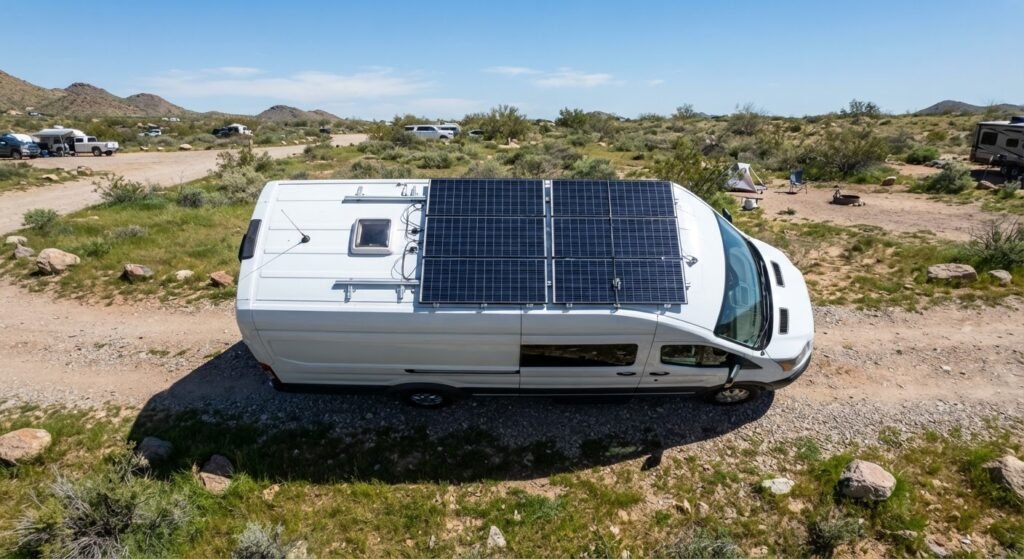
Practical van setup: 2.5 kW (approximately 7-8 panels at 350W each)
This size fits most van roofs (approximately 20 m²) and balances summer abundance with winter weakness.
Step 3: Select Solar Panel Type
Monocrystalline panels (recommended for vans):
- Efficiency: 20-22{176fcca6730a93a81d392d3d2de5285aaf114f6257de59f55b47dc4f356ad4a2} (best power per square meter)
- Cost: $350-450 per 350W panel
- Durability: 25-30 years lifespan
- Ideal for space-constrained roofs
Polycrystalline panels:
- Efficiency: 15-18{176fcca6730a93a81d392d3d2de5285aaf114f6257de59f55b47dc4f356ad4a2} (needs more space)
- Cost: $250-350 per 350W panel
- Durability: 20-25 years
- Acceptable if budget is tight
For van life, monocrystalline is worth the premium cost, roof space is too valuable to waste on lower efficiency.
Step 4: Plan Your Roof Layout
Inspect your van roof carefully. Measure total usable space, identify penetration points (AC vents, antennae), and verify structural integrity. Most van roofs support 400-600 lbs total weight.
Typical van roof layout:
- 7 panels arranged in two rows (3-4 panels + 3-4 panels)
- Leaves 1-2 feet clearance on all sides
- Allows air circulation under mounting rails
- Maintains roof access for cleaning/maintenance
Mark each panel location with chalk before drilling. This prevents costly mistakes.
Step 5: Install Solar Panels
Materials needed:
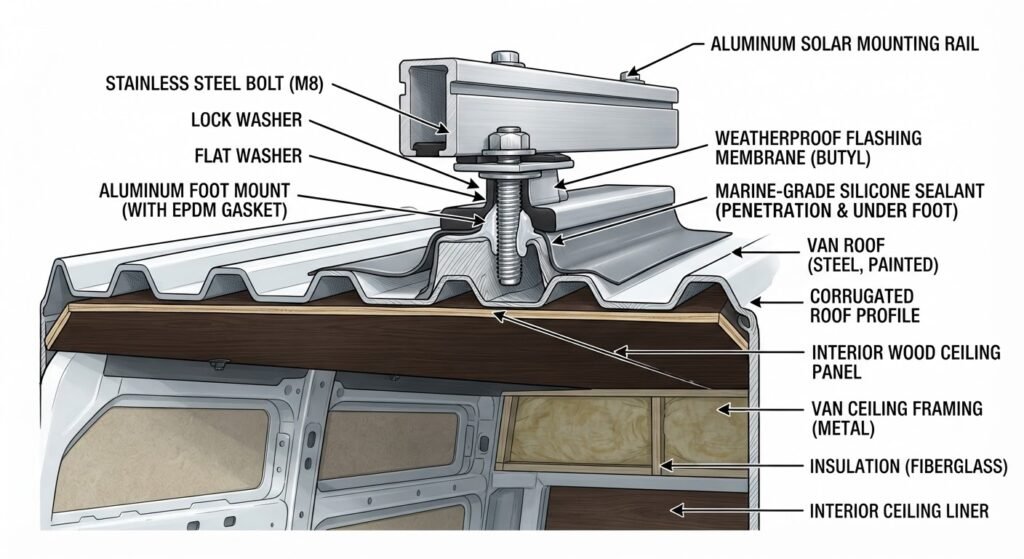
- Aluminum L-bracket rails (marine-grade)
- Stainless steel bolts, washers, lock washers
- Waterproof flashing kit (included in most installation packages)
- Marine-grade silicone sealant
- Weatherproof conduit for wiring
Installation process:
- Prepare roof: Clean thoroughly, remove debris, dry completely
- Install flashing: Seal each penetration point with weatherproof flashing before bolting anything down
- Mount rails: Use stainless steel bolts (corrosion-resistant) with proper washers
- Attach panels: Space panels evenly, avoiding roof stress concentration
- Seal every hole: Apply marine-grade silicone around all penetrations
- Inspect quarterly: Check for loose bolts, cracks in sealant, or water seepage
A single roof leak can cause $3,000-5,000 in interior water damage. Take sealing seriously.
Step 6: Install Charge Controller
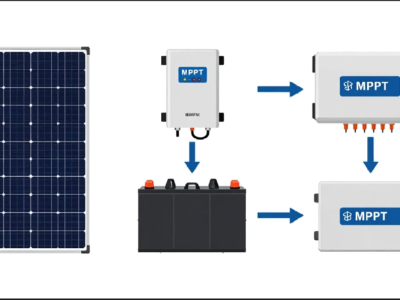
The charge controller regulates voltage from solar panels to batteries, preventing overcharging and damage.
MPPT controllers (recommended):
- 30-40{176fcca6730a93a81d392d3d2de5285aaf114f6257de59f55b47dc4f356ad4a2} more efficient than PWM
- Better performance in cold/partial shade
- Cost: $800-1,200
- Essential for van systems over 2 kW
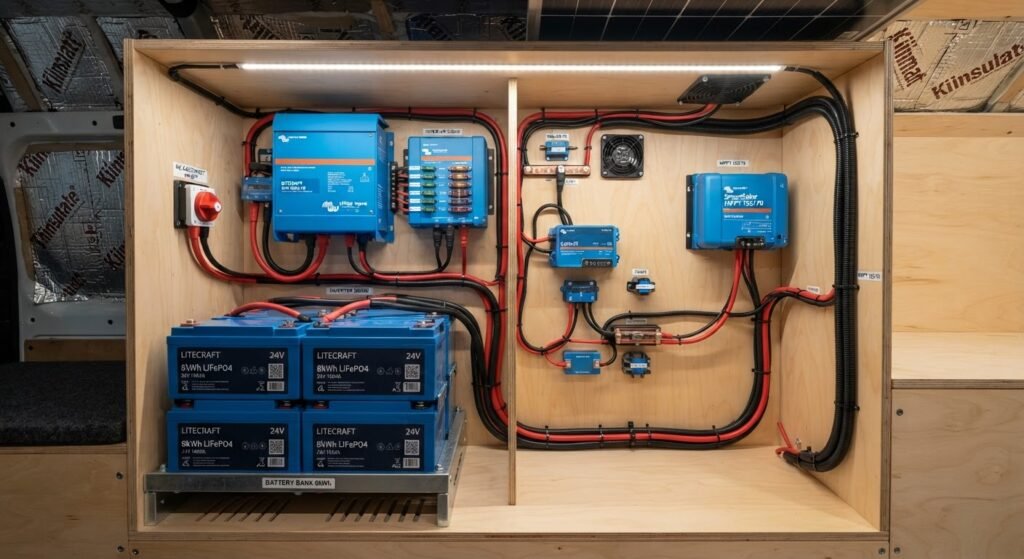
Mounting location: Install in a ventilated battery compartment, not directly on the van wall (needs airflow).
Wiring requirements:
- Solar input: Use 6-10 AWG cable (depends on system voltage and current)
- Battery output: Heavy gauge copper (same AWG as solar input)
- All connections fused within 18 inches of battery terminal
Step 7: Install Battery Bank
The battery bank stores solar energy for use at night and cloudy days.
Lithium LiFePO4 (recommended for van life):
- Usable capacity: 80-90{176fcca6730a93a81d392d3d2de5285aaf114f6257de59f55b47dc4f356ad4a2} (vs. 50{176fcca6730a93a81d392d3d2de5285aaf114f6257de59f55b47dc4f356ad4a2} for lead-acid)
- Lifespan: 10-15 years
- Weight: Lighter than lead-acid
- Maintenance: Zero (sealed, no water checks)
- Cost: $2,500-3,500 per kWh
Typical van setup: 8-10 kWh LiFePO4
Battery compartment requirements:
- Insulated box with ventilation (air gaps on 2+ sides)
- Temperature controlled (ideally 50-85°F)
- Mounted low for weight distribution
- Accessible for monitoring/maintenance
Step 8: Install Inverter
The inverter converts DC (direct current) from batteries to AC (alternating current) for standard appliances.
Sizing: Peak Load × 1.25 safety factor
If your peak simultaneous draw is 3 kW (AC compressor + microwave + lights), install a 3.75-4 kW pure sine wave inverter.
Installation location: Near batteries (minimize cable run), in ventilated compartment, mounted vertically.
Electrical safety requirements:
- Main DC disconnect between battery and inverter
- AC circuit breaker panel downstream of inverter
- Proper grounding to van chassis
- Fire extinguisher mounted nearby
Step 9: Connect All Components
Follow this wiring sequence to prevent electrical accidents:
- Solar panels to charge controller (disconnect is optional here)
- Charge controller to battery positive (fused at 15-20A within 18 inches)
- Battery negative to chassis ground (short, heavy gauge cable)
- Battery to inverter (main disconnect installed between battery and inverter)
- Inverter output to AC breaker panel (proper circuit breakers for safety)
Use marine-grade or solar-rated cable (UV resistant). Household Romex wiring fails quickly in DC solar systems.
Step 10: Test and Commission
Before celebrating, verify every connection:
Testing checklist:
- Multimeter confirms proper voltages at each stage
- No voltage drop greater than 3{176fcca6730a93a81d392d3d2de5285aaf114f6257de59f55b47dc4f356ad4a2} in any cable run
- All fuses properly rated and installed
- Breakers trip under fault conditions
- Inverter startup produces clean AC (check with line tester)
- Battery charges fully without overvoltage
- Load test: Run appliances and monitor voltage stability
Maintenance Plan
Solar systems are durable but require minimal care:
- Monthly: Check battery voltage and connections for corrosion
- Quarterly: Clean panel surfaces (deionized water, soft cloth)
- Annually: Inspect roof seals for cracks, test all breakers, verify ground continuity
Proper maintenance extends system lifespan from 10 years to 20+.
Use our inbuilt calculator for energy requirement for all kind of appliances. Use the Mobile Solar Calculator → (2 minutes, free)
Conclusion
A van life solar system setup requires careful planning, precise installation, and ongoing maintenance. The upfront investment ($5,000-9,000 for a 2.5 kW system with 8-10 kWh battery) is recouped through eliminated campground hookup fees ($30-50/night) within 2-3 years. Beyond financial ROI, solar provides the freedom to park anywhere, the silence of clean energy, and the independence to travel indefinitely. By following these ten steps methodically, you’ll create a reliable, safe power system that supports years of off-grid van life.
You Make Like following also please visit if you like it.
- Complete Off-Grid Solar Financial Planning Guide: Real Costs, True Savings & Energy Independence ROI in 2026
- Off-Grid Solar System Sizing: Complete 2026 Calculator & Design Guide
- How to Calculate Solar Needs for Home: A Complete Step-by-Step Guide for 2026
- Off-Grid Solar System Design Tool: Complete Sizing & Installation Guide 2026
- Optimal Solar Panel Tilt Angle Canada: Complete Guide for Maximum Solar Power in 2026
- Off-Grid Solar System Cost 2026: Complete Sizing Guide + Calculator
- Home Solar Battery Calculator 2026: Size Your Battery & Solar System Accurately
For More Research Purpose You can Visit Following links: