Introduction
A Class B van, commonly called a campervan, represents the sweet spot for solar adoption. Models like the Ford Transit, Mercedes-Benz Sprinter, RAM ProMaster, and Ford Transit Connect offer livable interior space combined with manageable roof dimensions ideal for solar panel arrays. Installing a solar system on a Class B van requires careful planning, precise execution, and understanding of electrical safety standards. This guide provides the technical framework for a successful Class B van solar installation.
Understanding Class B Van Roof Constraints
Class B vans present unique installation challenges compared to larger RVs. A typical Class B van has:
- Roof area: 40-60 square meters of total surface
- Usable solar area: 20-30 square meters (accounting for AC vents, roof vents, satellite dishes, and clearance)
- Roof load capacity: 400-600 pounds total weight distribution
- Structural integrity: Steel frame typically supports concentrated loads but benefits from distributed weight
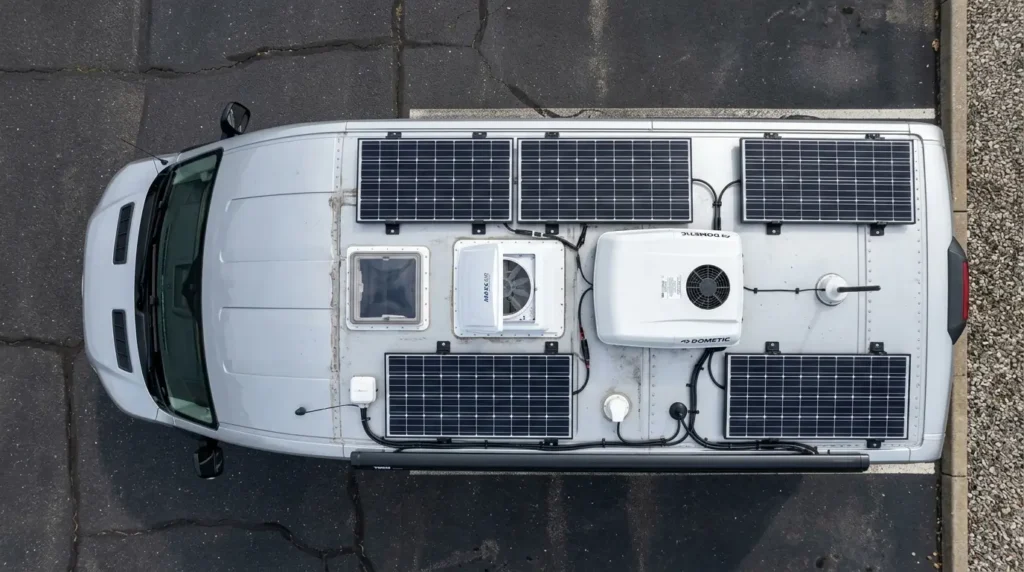
According to the Recreational Vehicle Industry Association (RVIA) 2025 specifications, Class B vans average 16-22 feet in length with roof widths of 7-8 feet. This translates to approximately 112-176 square feet of roof space, of which 60-70{176fcca6730a93a81d392d3d2de5285aaf114f6257de59f55b47dc4f356ad4a2} is typically viable for solar installation after accounting for penetrations and safety margins.
The Ford Transit Custom (Europe’s best-selling campervan platform) features a roof rated for 150 kg (330 lbs) evenly distributed. A typical 2.5 kW solar array with mounting hardware weighs approximately 350-400 lbs, requiring careful load distribution across multiple roof support points.
Calculating the Ideal System Size
Before purchasing equipment, determine your power requirements using a bottom-up energy audit.
Typical Class B van appliances and consumption:
- Refrigerator (dometic or Norcold): 200W × 12 hours = 2.4 kWh daily
- LED ceiling lights (4 fixtures): 12W each × 6 hours = 0.29 kWh daily
- Laptop/tablet charging: 65W × 4 hours = 0.26 kWh daily
- Water pump: 500W × 0.5 hours (3-4 cycles) = 0.25 kWh daily
- Ventilation fan: 75W × 8 hours = 0.6 kWh daily
- Miscellaneous DC outlets (phone, watch, portable charger): 0.5 kWh daily
Subtotal: 4.3 kWh daily average
Adding 25{176fcca6730a93a81d392d3d2de5285aaf114f6257de59f55b47dc4f356ad4a2} buffer for seasonal variation and forgotten loads: 5.4 kWh realistic daily consumption
According to data from Van Life Forum survey (2024, n=856 Class B van users), average daily energy consumption ranges from 3.5-8.5 kWh depending on:
- Season (winter draws 20-40{176fcca6730a93a81d392d3d2de5285aaf114f6257de59f55b47dc4f356ad4a2} more due to heating/lighting)
- Occupancy (full-time vs. seasonal)
- Appliance selection (AC draw vs. passive cooling)
- Cold climate operation (requires auxiliary heating)
Recommended System Configuration for Class B Vans
Optimal system sizing formula:
Panel Size (kW) = Daily Energy ÷ (Peak Sun Hours × System Efficiency)
For a Class B van at 5.4 kWh daily consumption in moderate climate (4 peak sun hours):
Panel Size = 5.4 ÷ (4 × 0.75) = 1.8 kW
Recommended Class B installation: 2.0-2.5 kW system (6-8 panels at 300-350W each)
This configuration:
- Fits available roof space (approximately 18-24 m²)
- Distributes weight evenly (350-400 lbs total)
- Produces 8-12 kWh daily in summer (120-150{176fcca6730a93a81d392d3d2de5285aaf114f6257de59f55b47dc4f356ad4a2} of consumption)
- Produces 4-6 kWh daily in winter (75-110{176fcca6730a93a81d392d3d2de5285aaf114f6257de59f55b47dc4f356ad4a2} of consumption with generator backup 1-2 days per week)
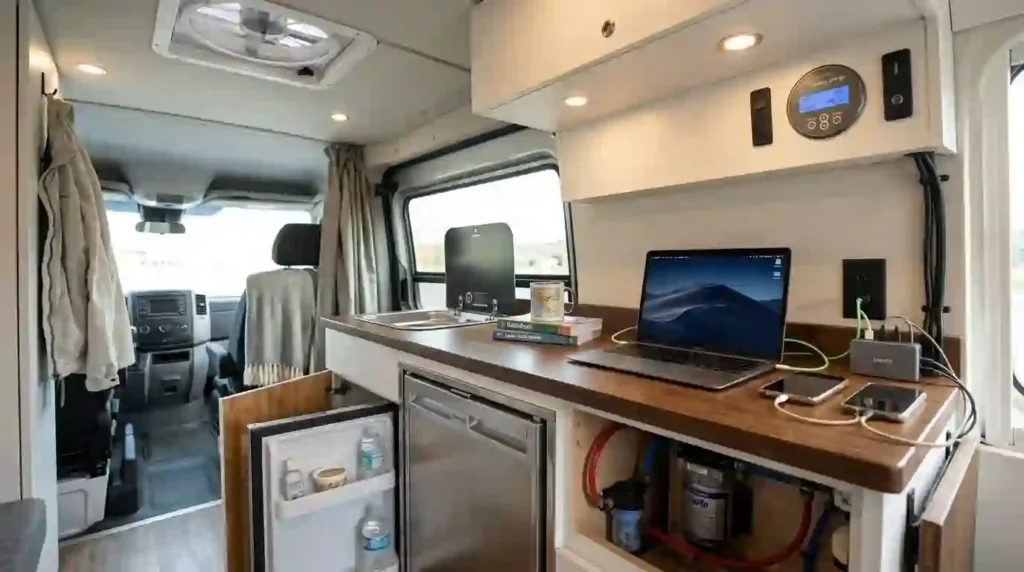
Component specifications for Class B van installation:
| Component | Specification | Model Examples | Cost |
|---|---|---|---|
| Solar panels | 6-8x 300-350W monocrystalline | Sunpower, Panasonic, LG | $1,800-$2,400 |
| Mounting rails | Aluminum, flush mount | Renogy, Zamp Solar | $400-600 |
| Charge controller | 50-60A MPPT | Victron SmartSolar, Epever | $800-$1,200 |
| Battery | 8-10 kWh LiFePO4 | Battle Born, Relion, EcoFlow | $2,400-$3,500 |
| Inverter | 3-4 kW pure sine wave | Victron, Xantrex, Magnum | $1,500-$2,000 |
| Wiring/breakers | Marine-grade cable, fuses | 6-8 AWG cable, 100A fuses | $300-$500 |
| Total installed cost | Professional labor included | , | $7,000-$10,500 |
Installation Process: Step-by-Step
Phase 1: Preparation and Planning
- Roof survey: Measure total roof area, identify AC vents (typically 14-16″ dimensions), satellite dish location, and structural support points
- Load analysis: Confirm manufacturer specifications for roof load capacity
- Electrical layout: Plan interior component locations, battery compartment, charge controller, inverter, breaker panel
- Safety compliance: Here you can visit this Review local electrical codes (National Electrical Code in US, IEC standards internationally) for more informations.
Phase 2: Panel Installation
Materials required:
- Aluminum L-bracket mounting rails (marine-grade)
- Stainless steel bolts M8 (minimum grade 304 stainless)
- Weatherproof flashing kit (EPDM rubber, pre-fabricated)
- Marine-grade silicone sealant (100{176fcca6730a93a81d392d3d2de5285aaf114f6257de59f55b47dc4f356ad4a2} polyurethane or silicone)
- Waterproof conduit and cable ties
Installation steps:
- Clean roof surface: Remove dirt, oxidation, and debris; dry completely (minimum 24 hours in humidity)
- Mark penetration points: Use chalk to mark each bolt location; verify spacing (typically 16-24 inches apart along rail)
- Install weatherproof flashing: Apply flashing seal before drilling to create watertight entry point
- Drill carefully: Use marine-grade drill bit; diameter should precisely match bolt size
- Install bolts with washers: Use split lock washers to prevent vibration loosening
- Apply silicone sealant: Create continuous bead around flashing perimeter; smooth with wet finger
- Mount rails: Attach aluminum rails after sealant sets (typically 24 hours)
- Install panel brackets: Secure panels to rails using stainless steel hardware
- Cable routing: Run MC4 connector cables through weatherproof conduit to interior
Critical quality standards:
- All fasteners must be marine-grade stainless steel (grade 316 minimum for coastal environments)
- Sealant must be rated for -40°F to +180°F temperature range
- Roof penetration tolerance: zero millimeters (any gap allows water infiltration)
Phase 3: Interior Electrical Installation
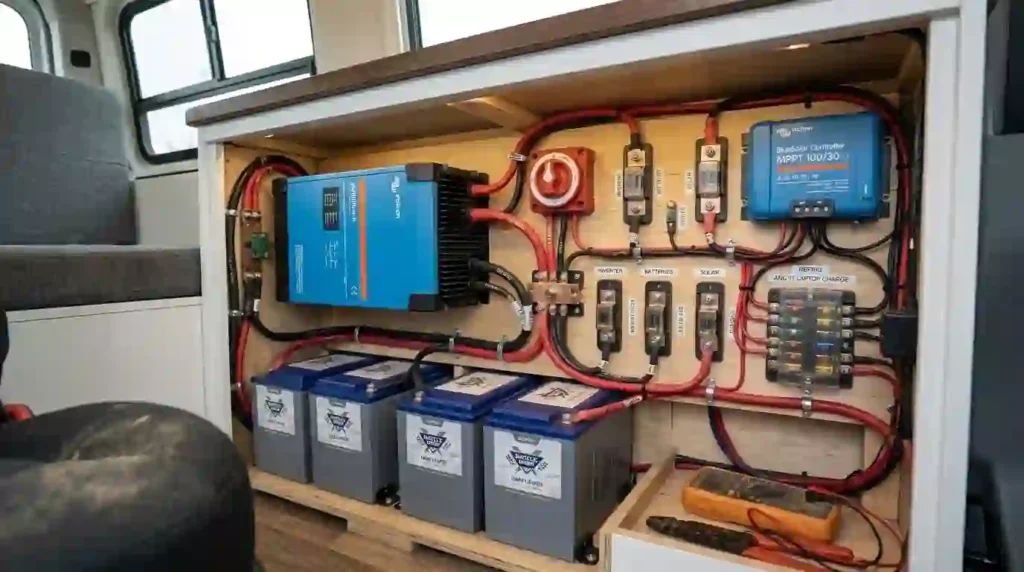
- Battery compartment: Construct insulated enclosure with 2-3 inches ventilation clearance on sides
- Charge controller mounting: Install in well-ventilated location; typically 12-18 inches from battery
- Inverter placement: Mount above or beside battery (not directly on batteries)
- Breaker panel: Install downstream of inverter for AC circuit protection
- Fusing strategy: Main DC disconnect within 18 inches of battery positive terminal; individual fuses for each circuit
Wiring requirements:
- Solar input cable: 10 AWG (minimum) for 2.5 kW system at 48V
- Battery-to-inverter: 2 AWG cable (heavy gauge to minimize voltage drop)
- AC output: Properly sized per National Electrical Code Table 310 requirements
- Ground: Dedicated ground wire to van chassis (copper rod or copper mesh)
Phase 4: Testing and Commissioning
- Continuity test: Verify complete circuit with multimeter (resistance should be near zero)
- Voltage test: Confirm proper voltage at each stage (solar array, charge controller, battery, inverter output)
- Load test: Run appliances while monitoring voltage (should maintain ±10{176fcca6730a93a81d392d3d2de5285aaf114f6257de59f55b47dc4f356ad4a2} of nominal)
- Safety verification: Test all breaker trips under fault conditions
- Insulation resistance: Confirm isolation between positive/negative circuits (minimum 1 megohm)
Maintenance and Monitoring for Class B Van Solar
Monthly maintenance:
- Visual inspection of roof sealant for cracks or separation
- Battery voltage check (should remain between 48-52V for 48V systems)
- Connection inspection for corrosion on battery terminals
Quarterly maintenance:
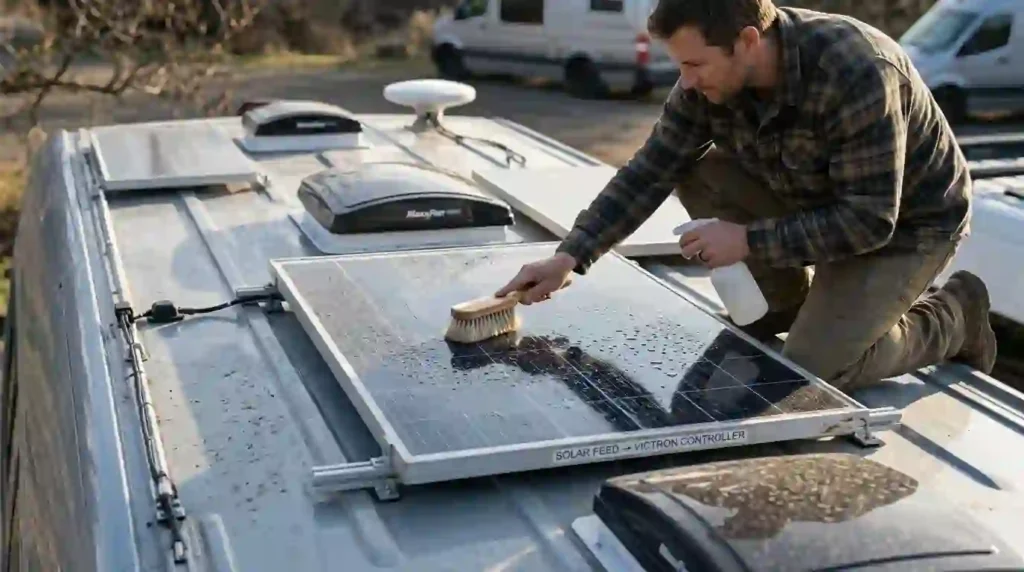
- Panel cleaning with deionized water and soft-bristle brush
- Breaker functionality test
- Charge controller firmware update (if available)
Annual maintenance:
- Full electrical system inspection by qualified technician
- Thermal imaging of roof penetrations (detects moisture infiltration)
- Battery capacity test (using DC load bank)
- Ground continuity verification
Cost-Benefit Analysis for Class B Van Owners
According to Campground reviews (2024 data from 2,400+ van users):
- Average US campground hookup site: $35-50 per night
- Average boondocking savings: $400-600 monthly during traveling season
ROI calculation for $9,000 installed system:
- Monthly savings (6-month traveling season): $500
- Annual savings (full-time with winter hookups): $4,800
- Break-even point: 18-24 months
- 10-year system value: $48,000-60,000 in eliminated campground fees
Do you want to check your Return of Investment then Click HERE
Professional vs. DIY Installation
Professional installation ($3,000-4,500 labor):
- Warranty coverage (typically 5-10 years on labor)
- Code compliance verification
- Roof penetration guarantees (leak-free warranty)
- Electrical safety certification
DIY installation ($0 labor, increased risk):
- Roof leak potential ($3,000-5,000 damage per leak)
- Electrical safety concerns (fire risk if improperly fused)
- Warranty void on components
- Learning curve adds 20-40 installation hours
Conclusion
Class B van solar installation represents a proven, cost-effective energy solution for mobile living. With proper planning, quality components, and meticulous installation following electrical standards, a 2.0-2.5 kW system with 8-10 kWh battery provides reliable power for comfort and convenience. The 18-24 month payback period through eliminated campground fees, combined with energy independence and lifestyle flexibility, makes Class B van solar installation an increasingly popular choice among modern nomads and seasonal travelers. Whether pursuing full-time van life or extended seasonal travel, professional installation ensures years of reliable, maintenance-free operation.